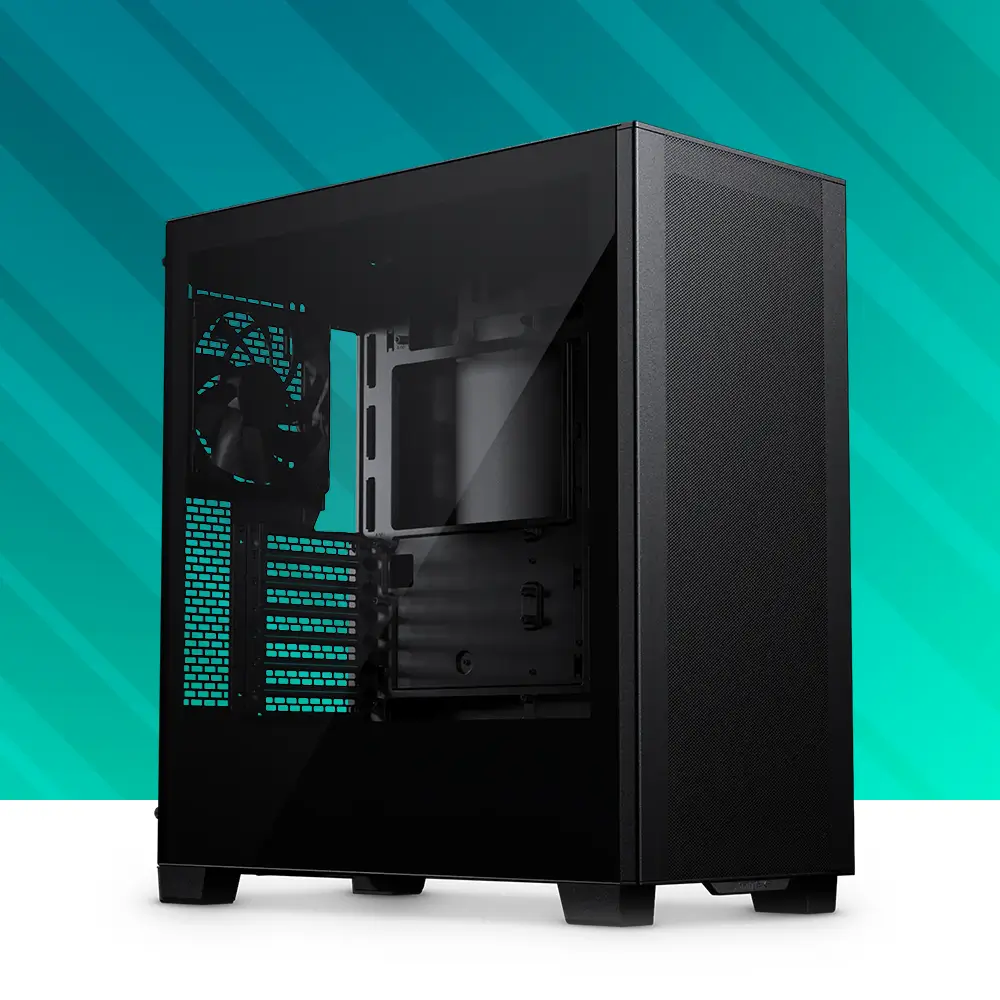
XT M3
Compact Micro ATX Gaming Chassis
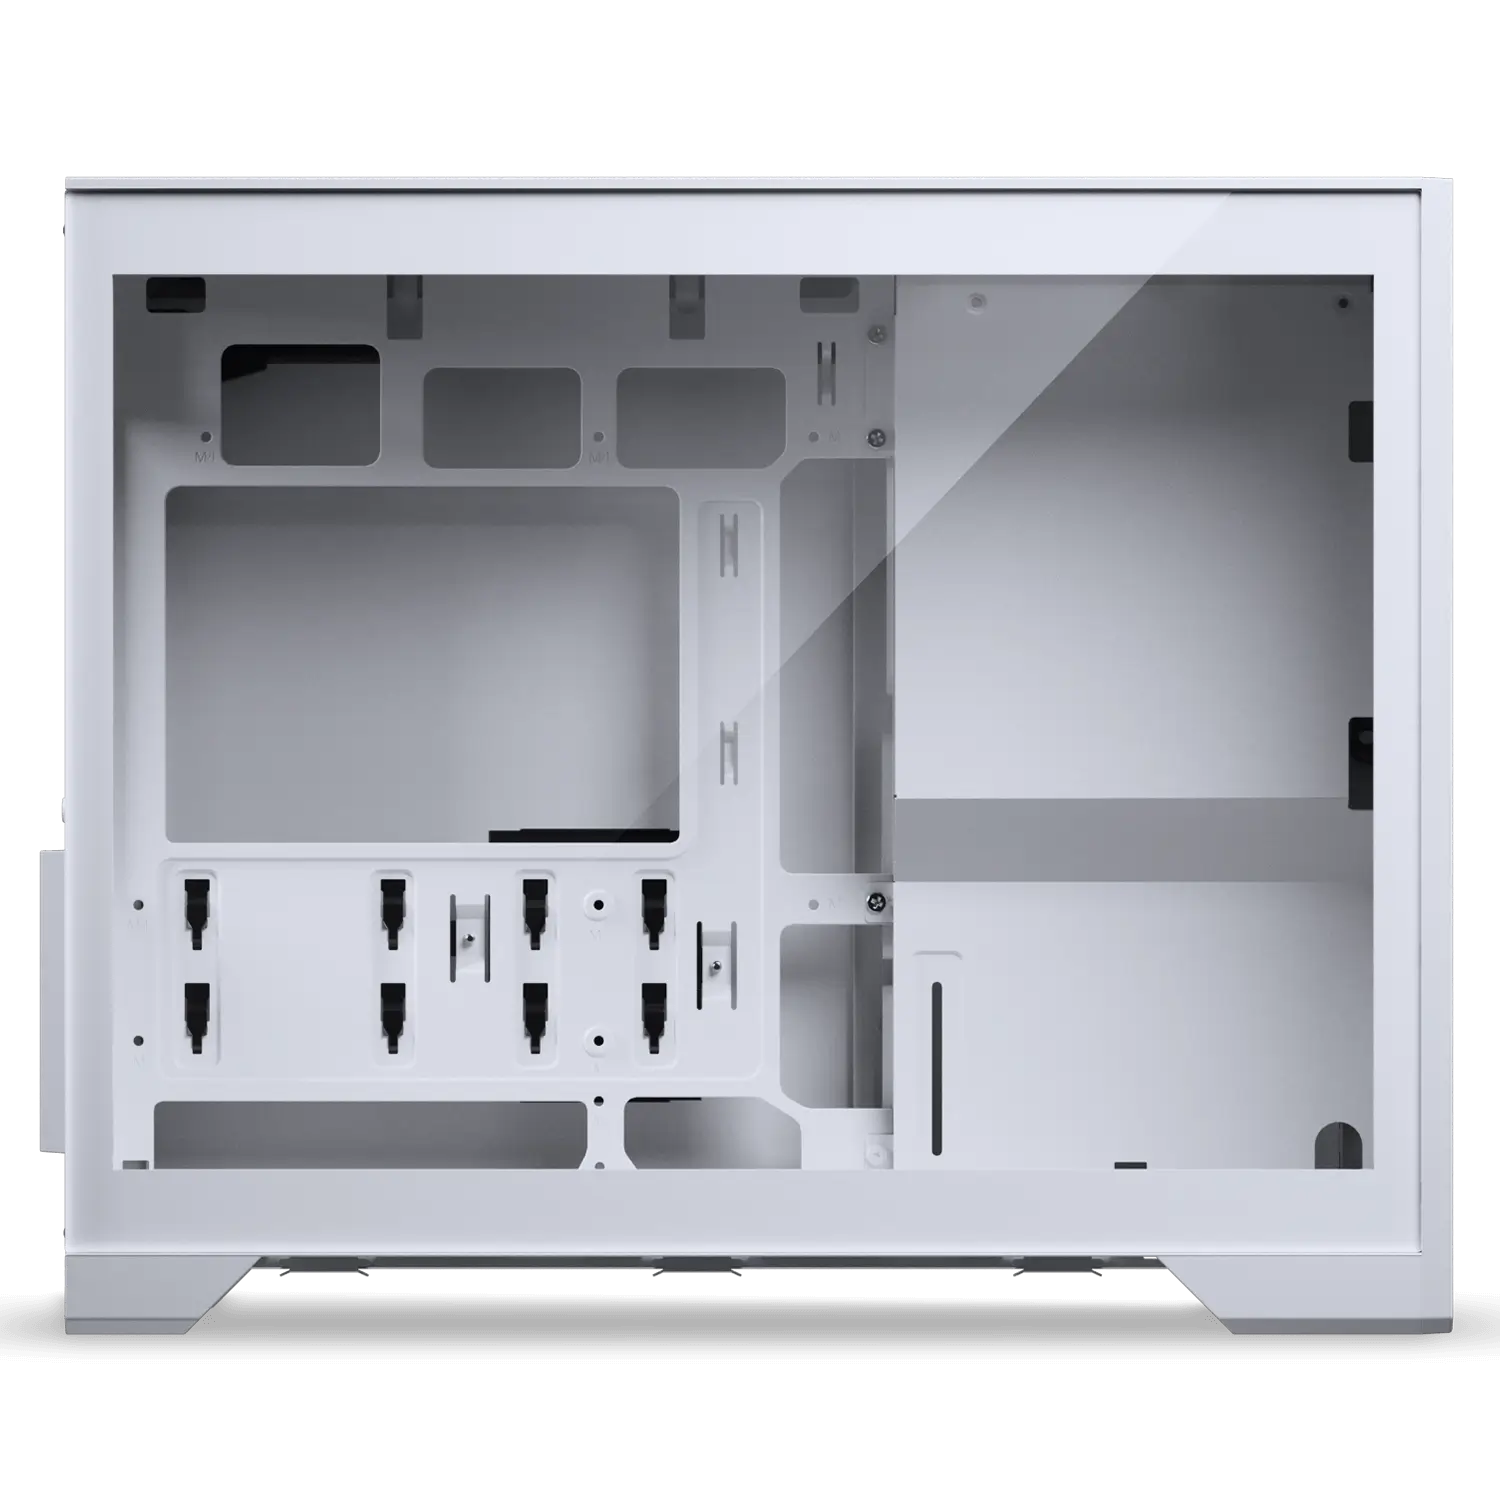
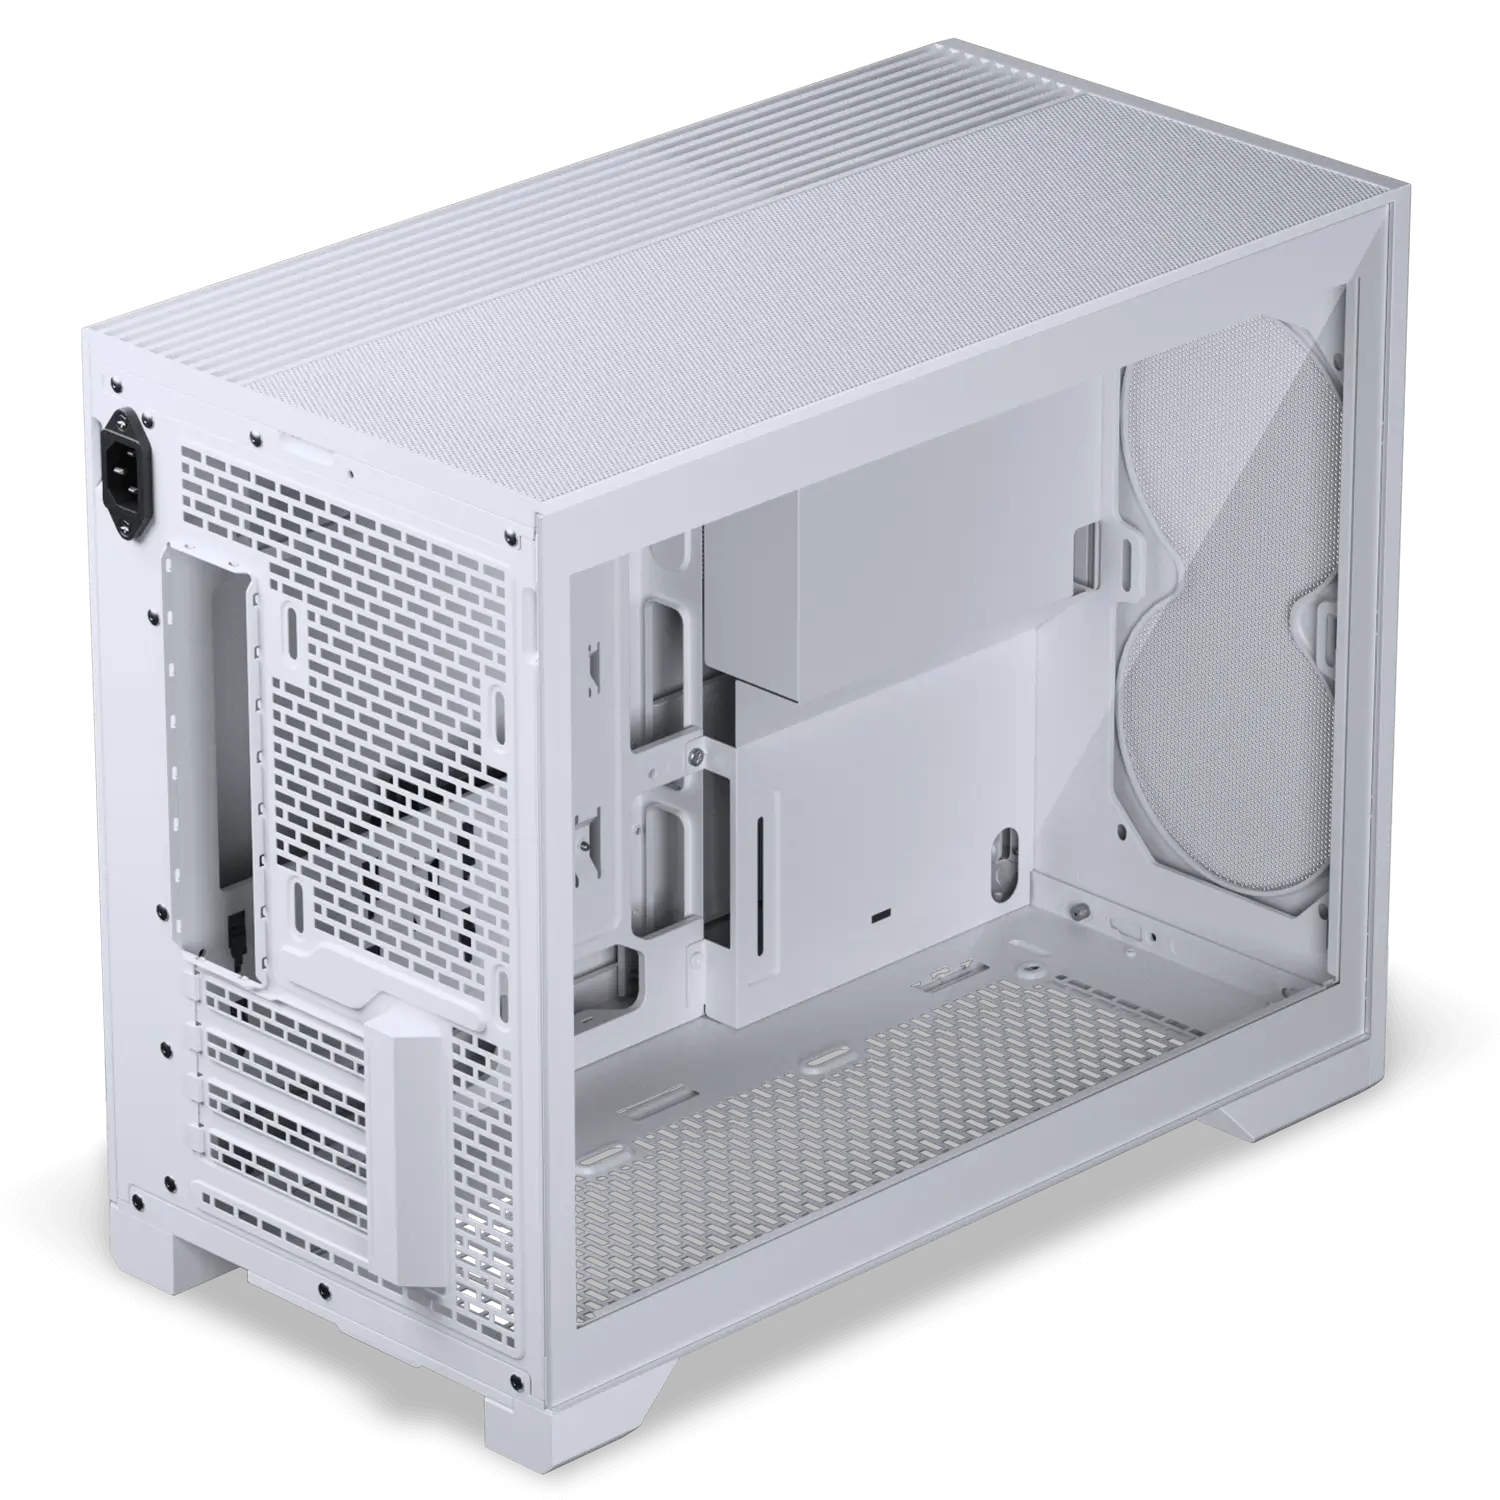
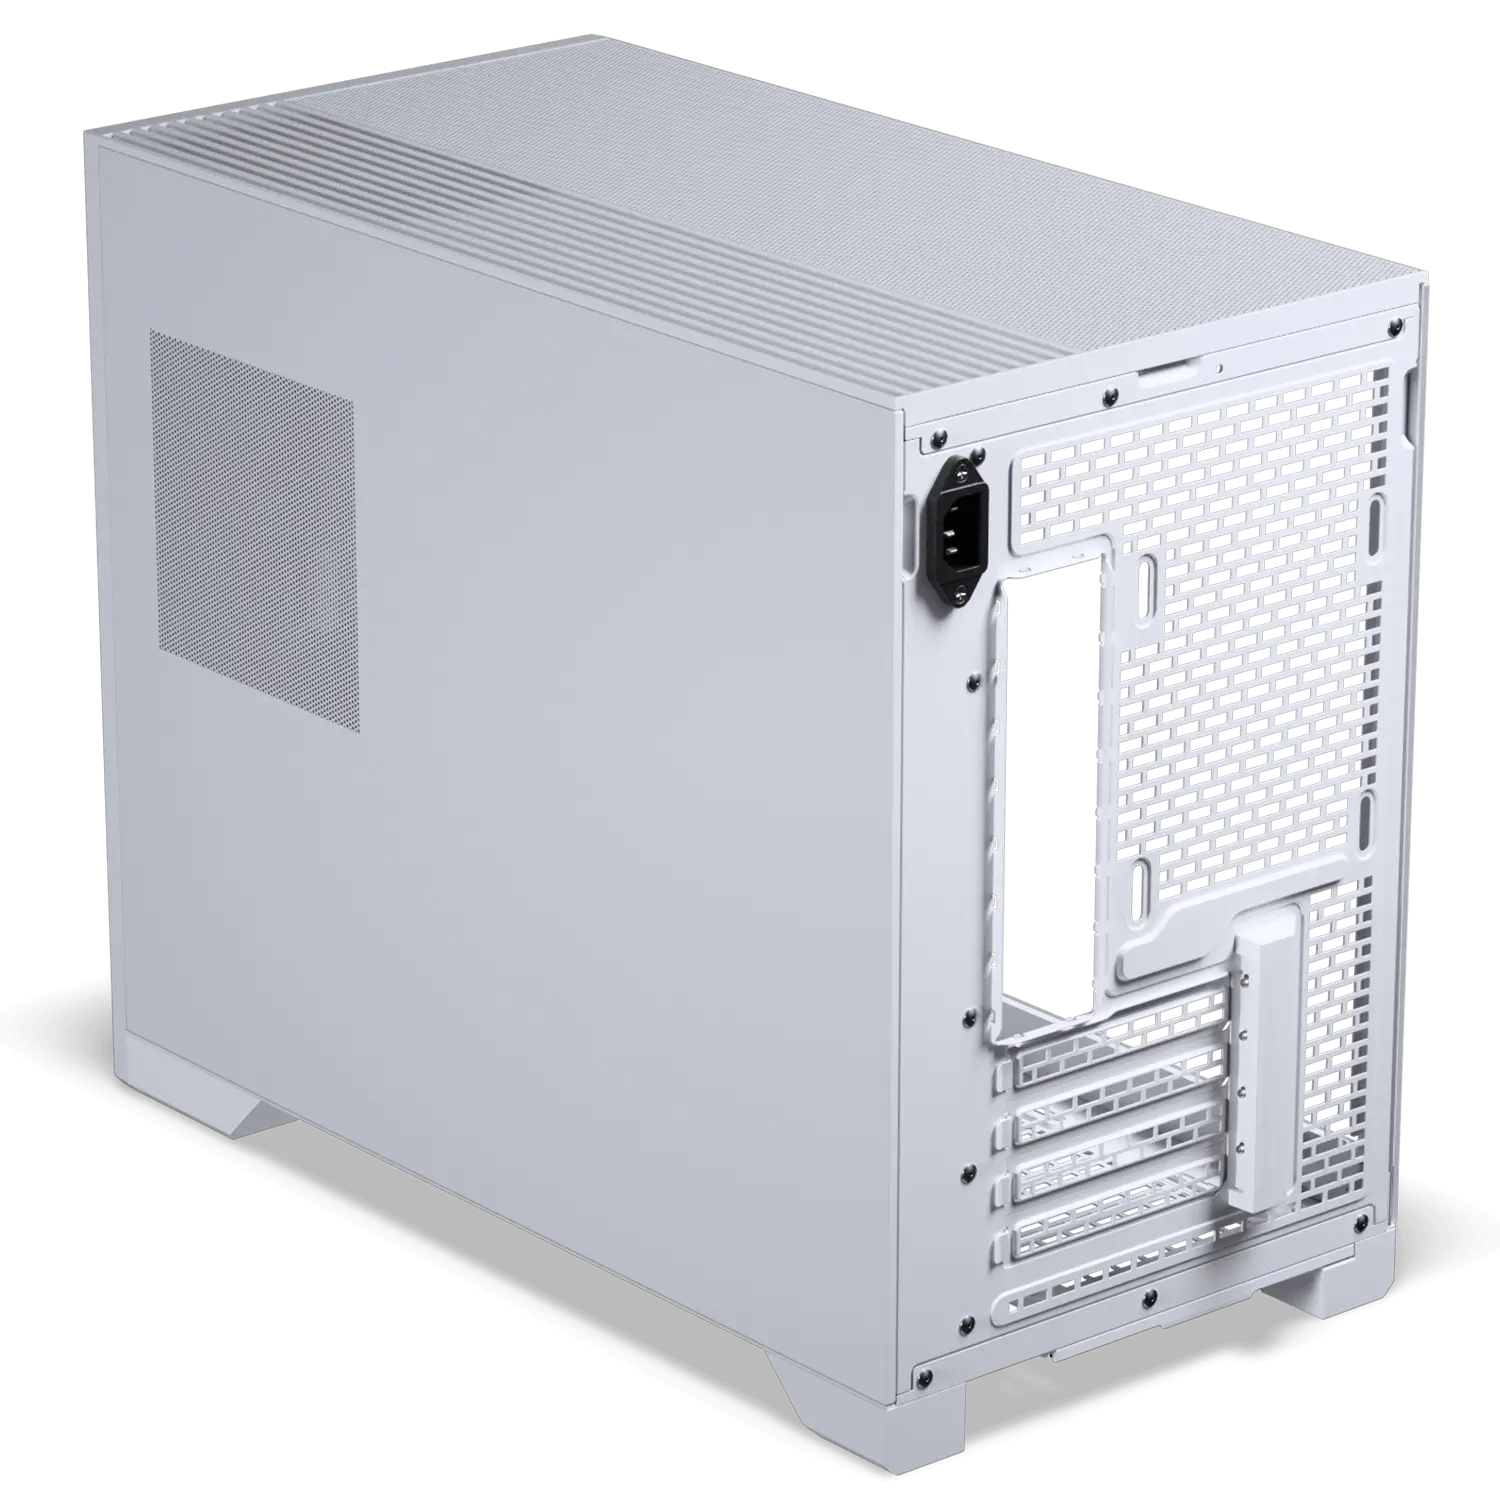
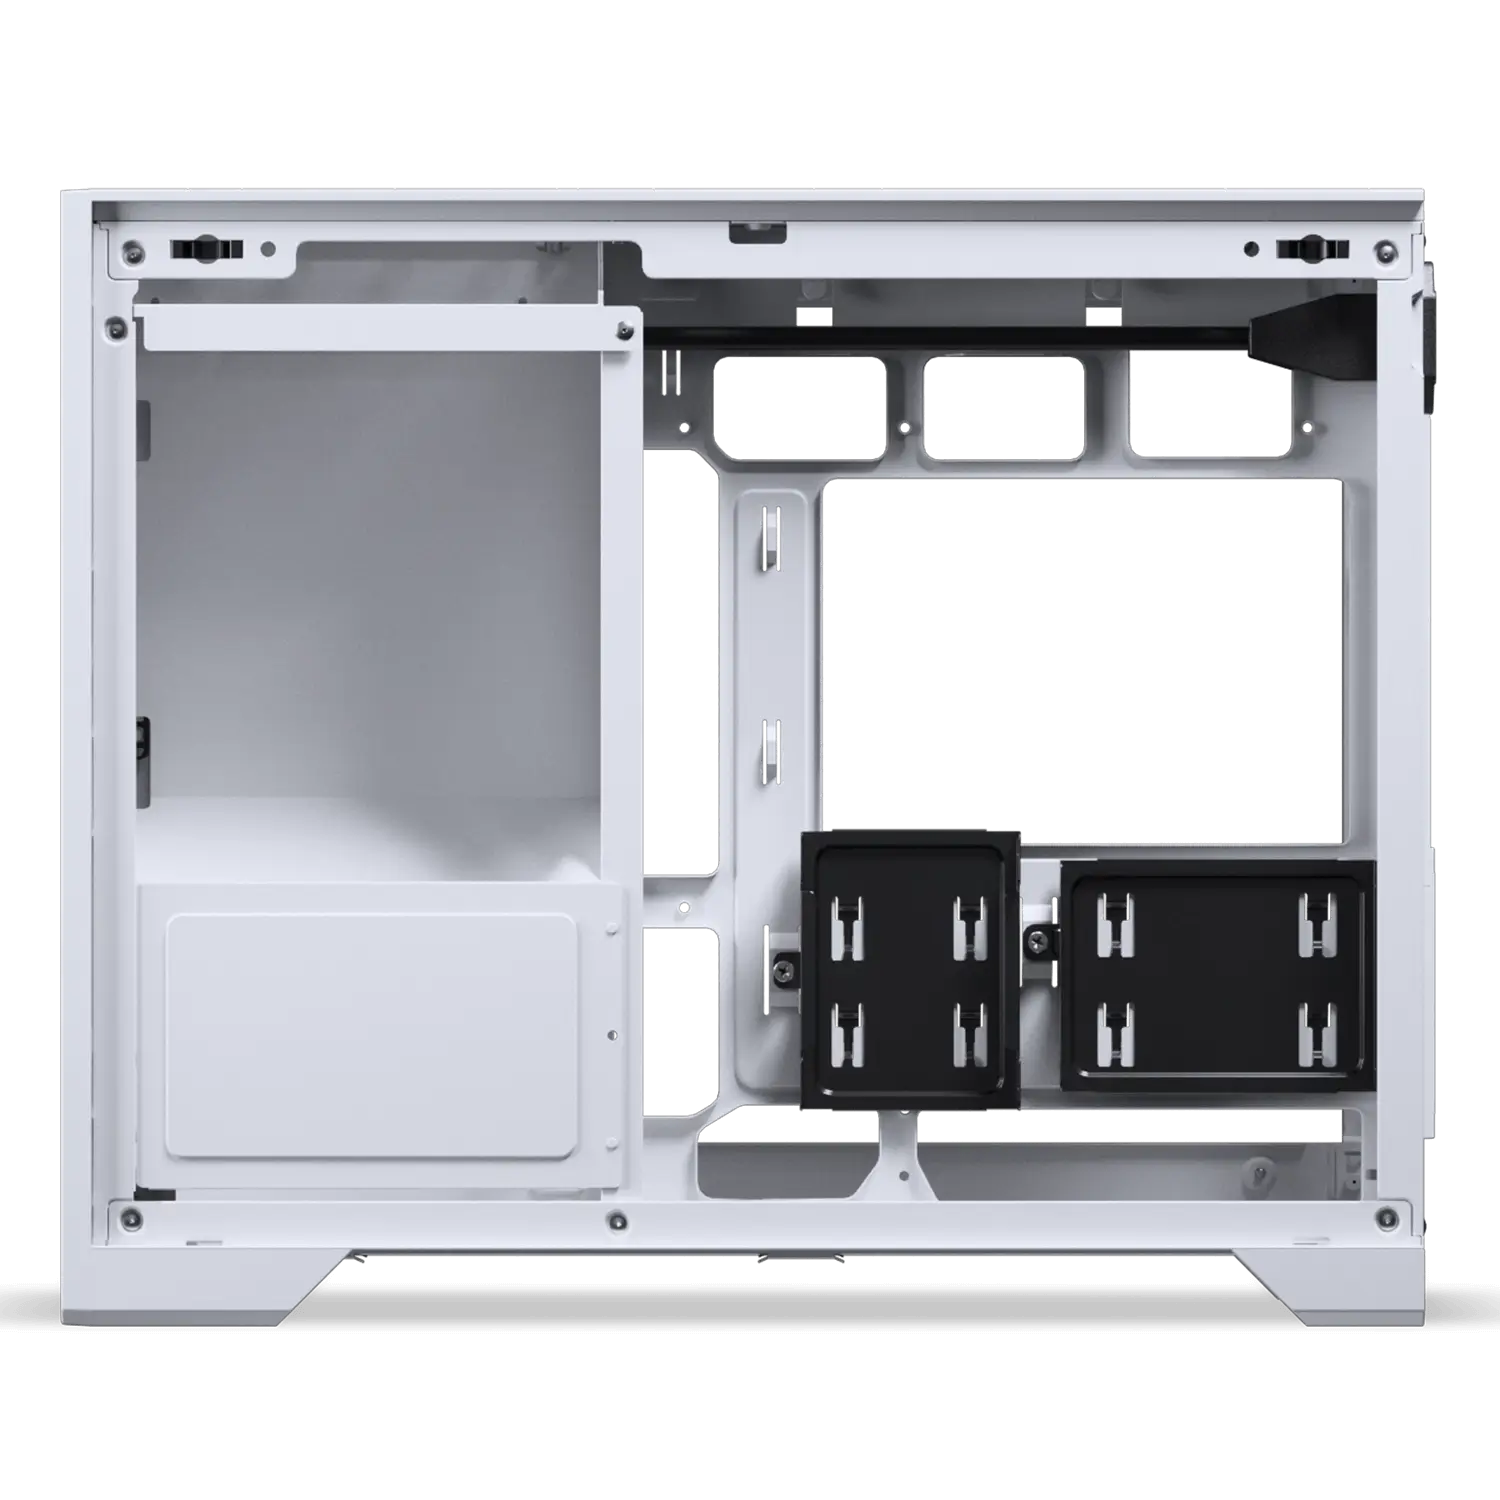
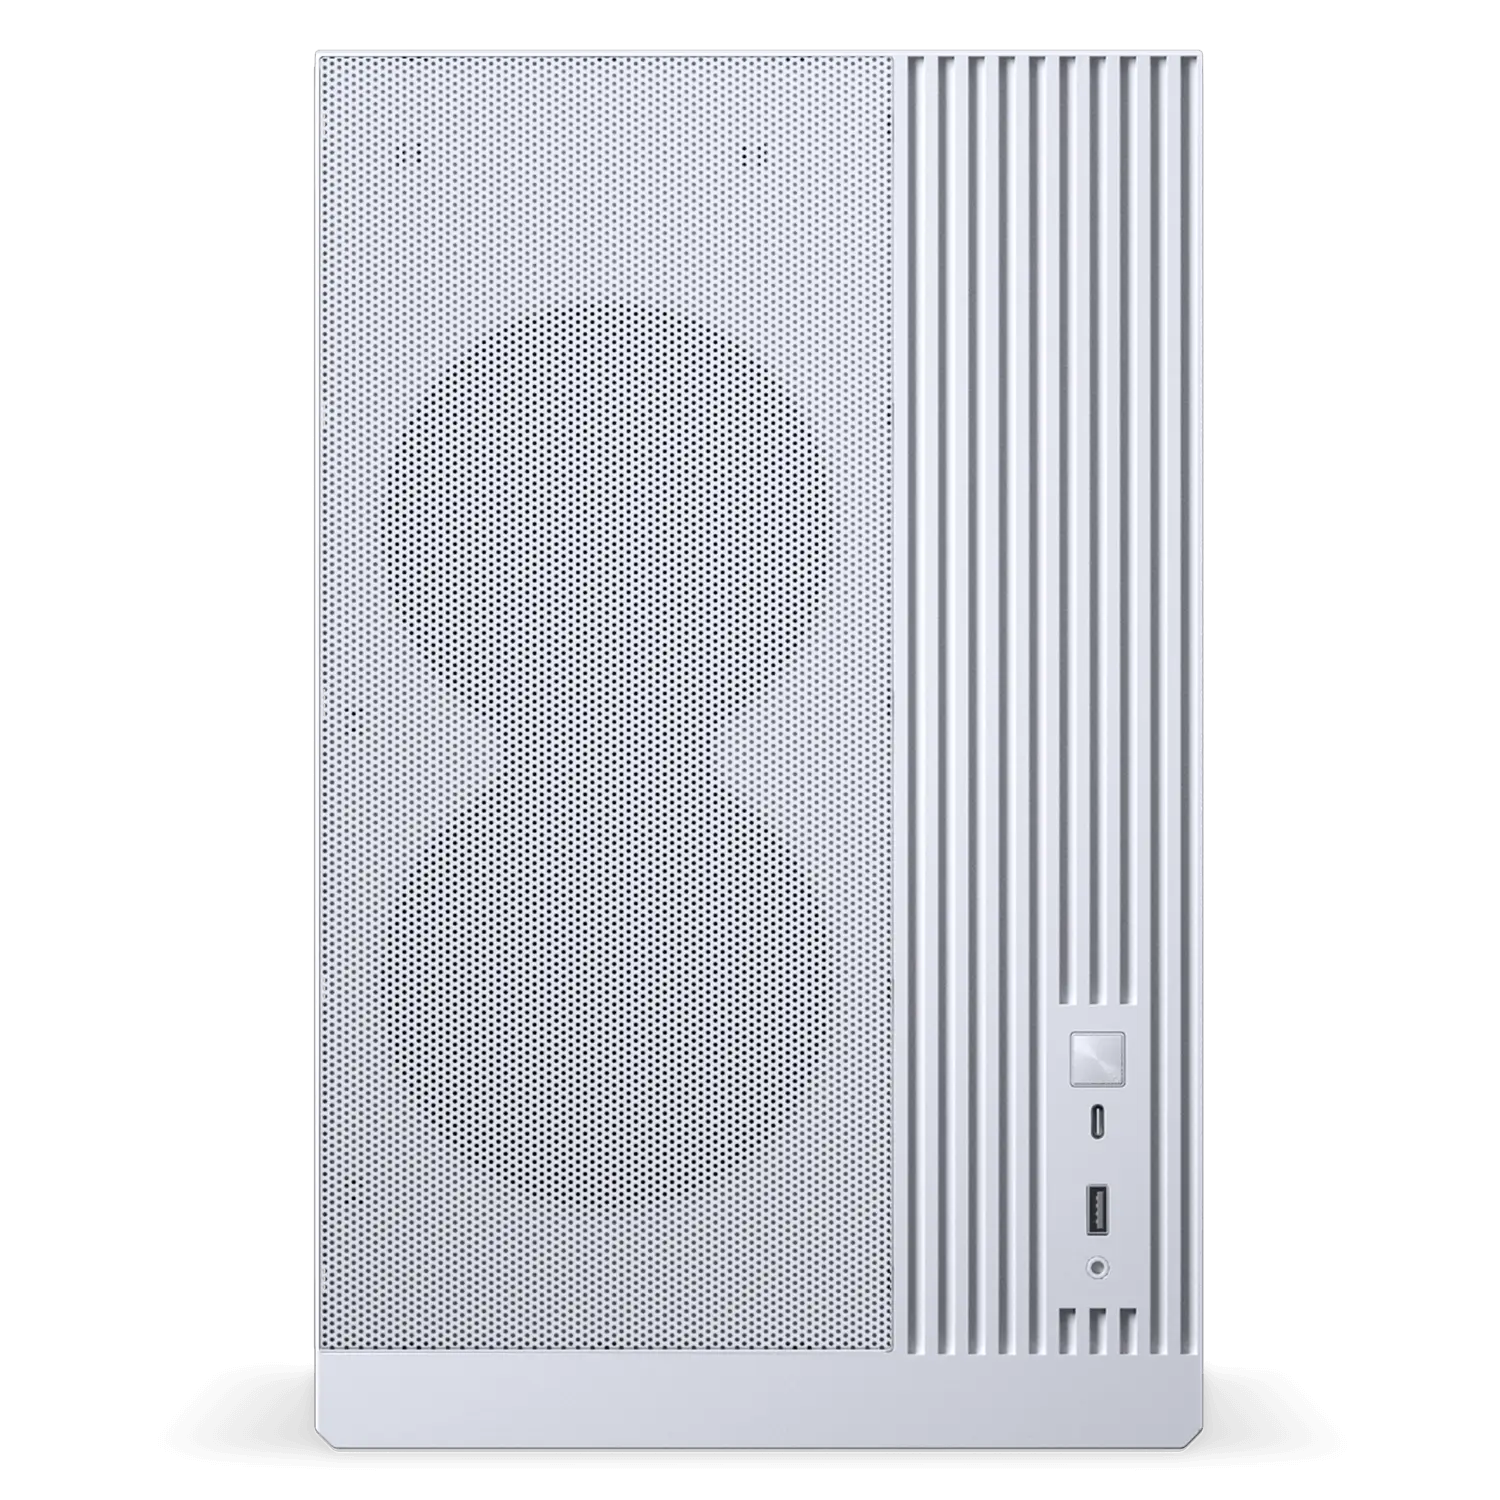
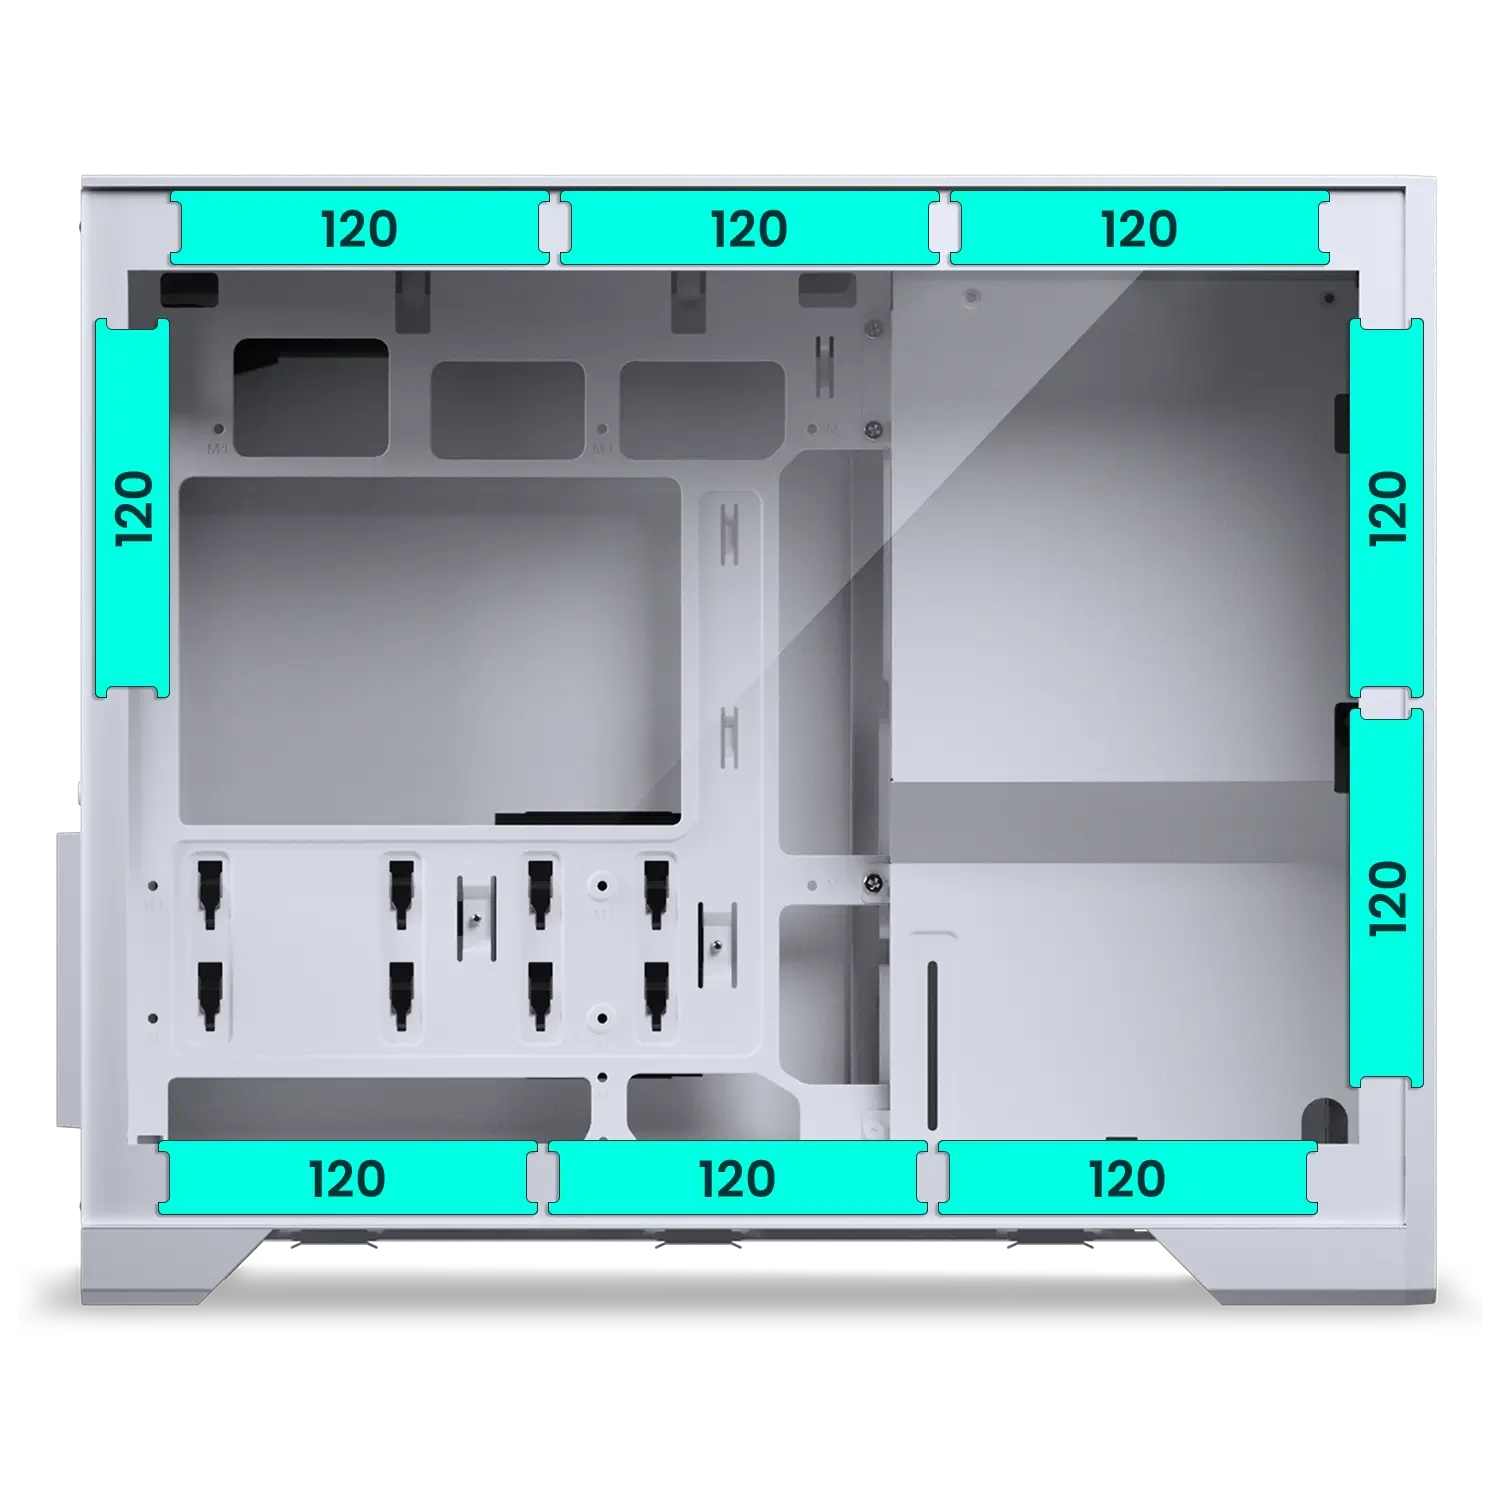
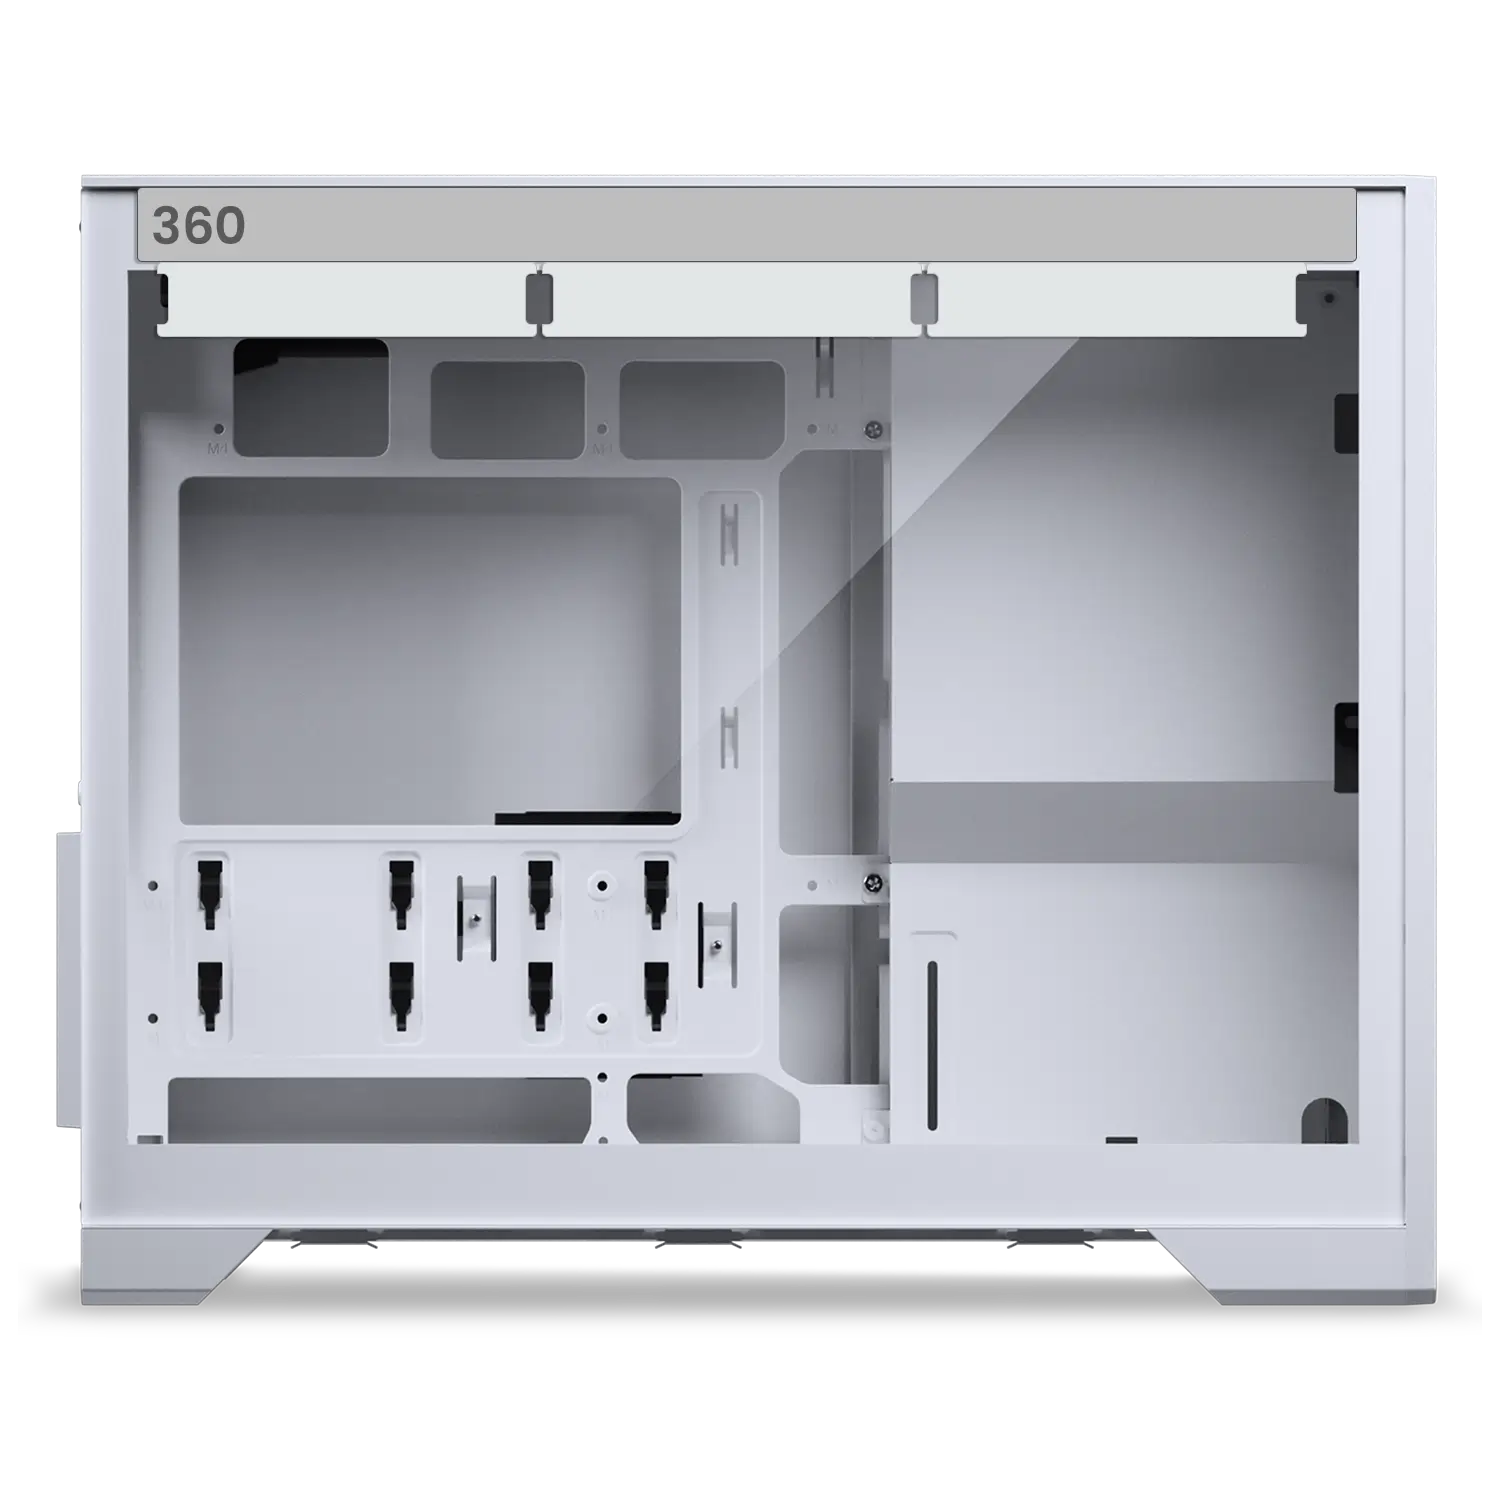
The XT M3 is a powerful yet compact microATX chassis ready for any gaming PC configuration. Plenty of fan positions, including triple 120 fan positions in the bottom and dedicated radiator space in the top, provide plenty of cooling options within its sleek and clean appearance.
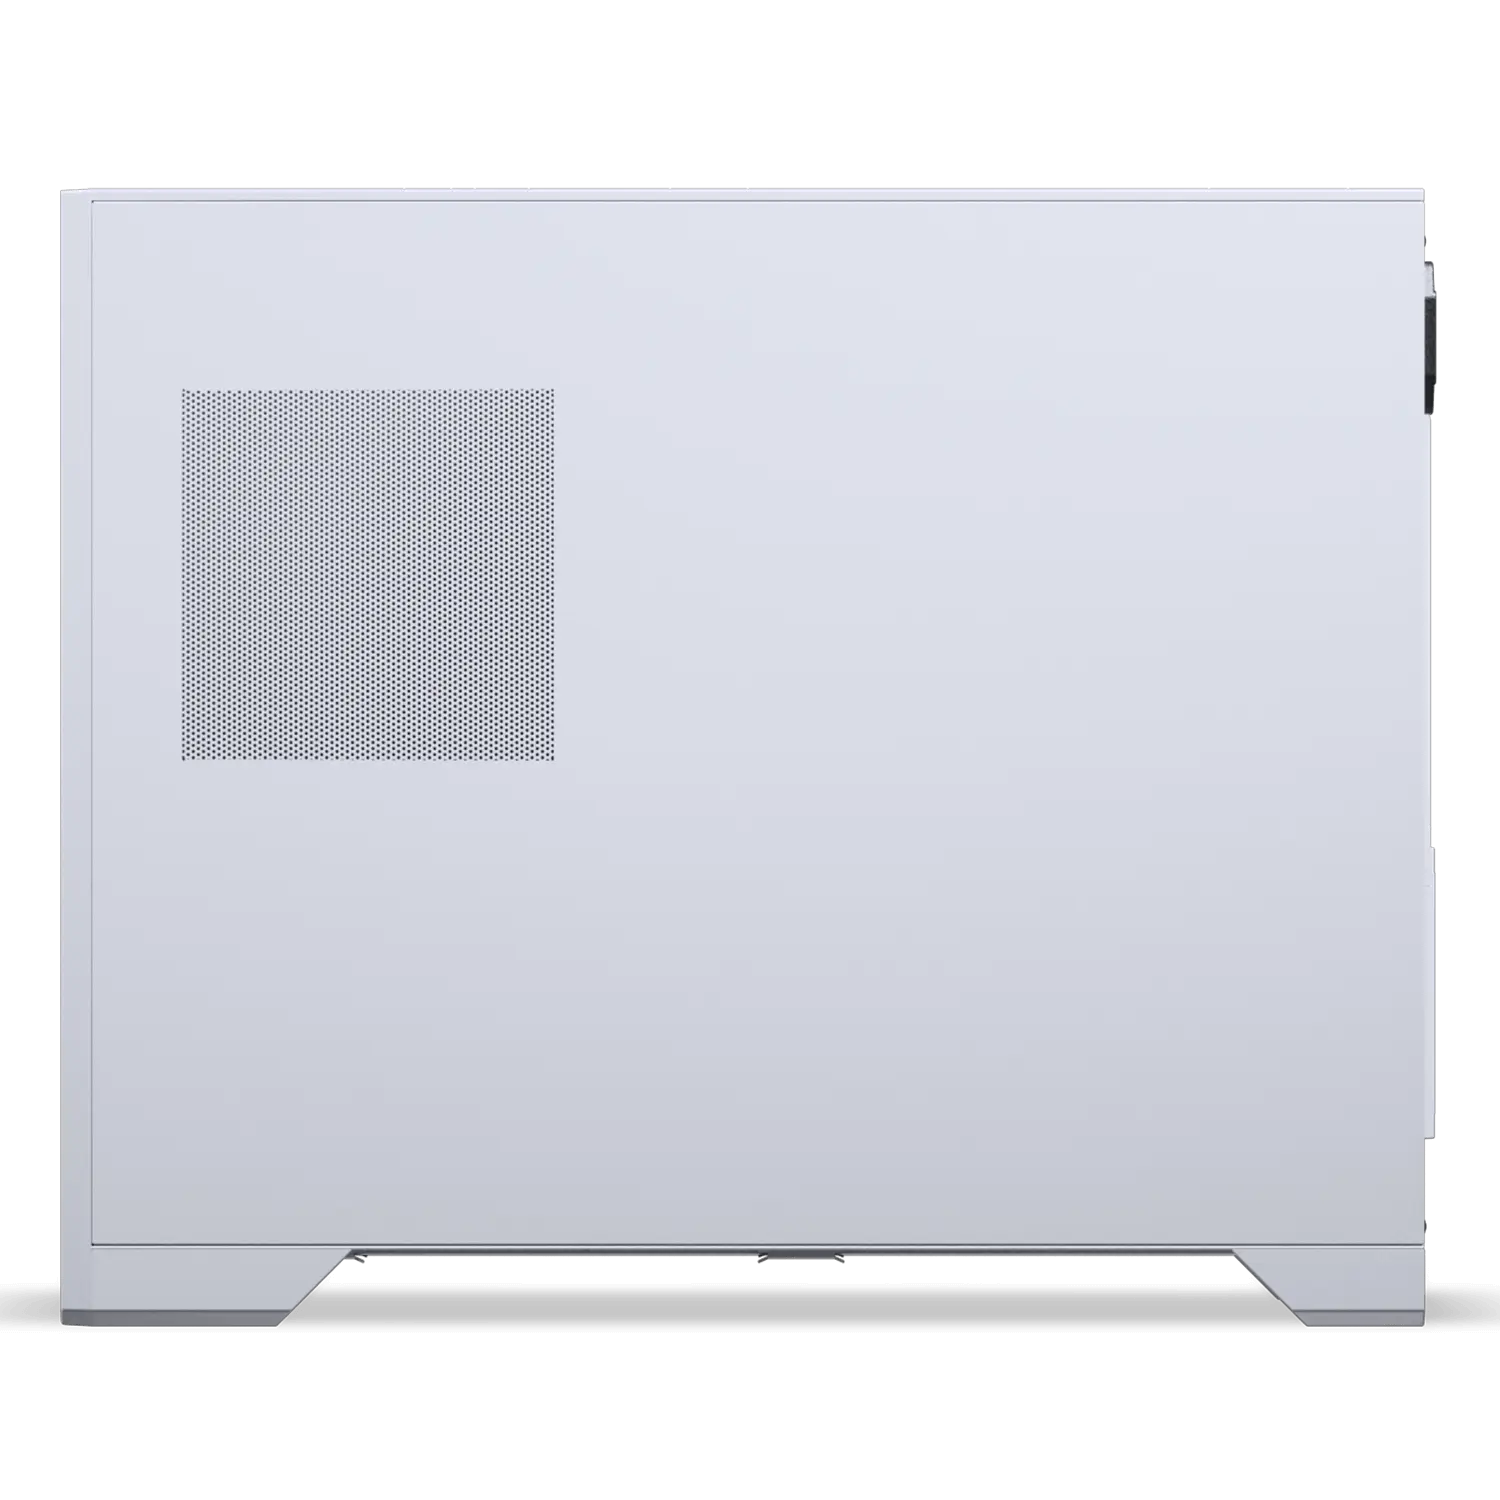
With its innovative layout and strikingly clean design, the XT M3 is a microATX powerhouse ready for any cooling challenge.
Colors

Configurations


Specifications
General
Model No.
PH-XT325M_WT01
UPC Code
886523303916
Case Dimensions
460 x 235 x 370 mm | 18.1 x 9.3 x 14.6 in
From Factor
Compact microATX tower
Mainboard Support
Micro-ATX | Mini-ITX
Materials
Steel chassis | Tempered glass window | ABS plastic
Color
White
Expansion Slots
4
Vertical GPU Support
No
Internal 2.5″ Positions
2
+ 1x 3.5″ HDD
Internal 3.5″ Positions
1
+ 2x 2.5″ SSD
Front I/O
1x USB 3.0
1x USB-C 3.2 Gen2x2
1x Microphone | Headphone combo
Power button
Fans 120 | 140
Total Fans
9 | –
Top
3 | –
Front
2 | –
Side
– | –
Rear
1 | –
Bottom
3 | –
Radiator 120 | 140
Top
Max. 360 | –
Front
– | –
Rear
– | –
Bottom
– | –
Clearance
CPU Cooler
Height
175 mm | 6.88 in
GPU
Length
430 mm | 15.94 in
Without front fans installed
GPU
Width
175 mm | 6.88 in
Power Supply
150 mm | 5.90 in
Top 360 Radiator
Length x Width x Height
410 x 122 x 60 mm | 16.14 x 4.80 x 2.36 in
Extra
Scope of Delivery
1x XT M3 chassis
1x SSD bracket Pre-installed
1x HDD bracket Pre-installed
Accessory Box
9x Zip ties
1x Stand-off removal tool
1x GPU support
Screws
17x Mainboard | SSD screws
5x Power supply screws
4x HDD screws
1x Mainboard stand-off
Support
FAQ
Digital-RGB means that each LED chip can be controlled individually, allowing for multiple colors and effects in a single D-RGB LED strip. While regular RGB LED strips can only show the same color on each LED chip per strip at a time. However, not every Digital-RGB (Addressable) product is the same.
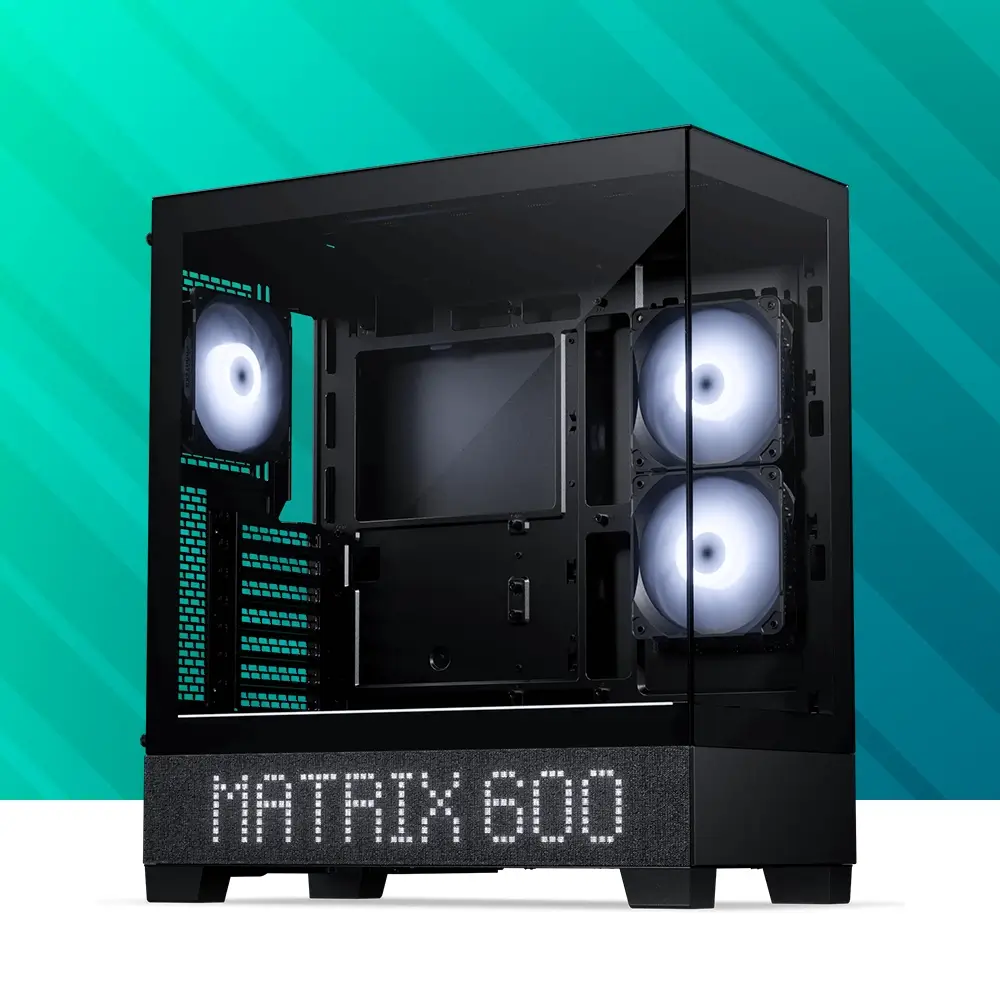
You don’t need the Nexlinq app directly for housing your PC in the Matrix-supported cases. However, the Nexlinq app is required to set up and customize the Matrix display (system stats, animations, lighting, and custom visuals). Without the app, the Matrix screen cannot be configured and will show the text ‘Matrix 600’ or ‘Matrix 900’ depending on the Matrix display size.
Are plug-and-play. No software is needed, yet it is compatible with software control through MSI or ASUS compatible motherboards if desired. Have custom developed color patterns. We believe D-RGB lighting can be stylish when having the right color/pattern settings, which is why the Phanteks D-RGB controller is pre-installed with custom selected color modes and patterns.
Have 30 LED chips. This is a lot! Having 30 LEDs per product instead of just 8 or 12 creates a much more beautiful color gradient and higher quality lighting. This also means more color tints can be displayed simultaneously in one strip.
Digital-RGB and RGB have a different connector. Digital-RGB uses a 3-pin connector while RGB uses a 4-pin connector. Technical explanation: Digital-RGB uses 5 Volts while RGB uses 12 Volts. Connecting Digital-RGB products and RGB products would cause damage.
Digital-RGB from Phanteks is compatible with Asus Addressable-equipped motherboards and MSI Mystic Light Rainbow-equipped motherboards. Check with the Motherboard specifications if your motherboard has a ‘AURA Addressable Header’ or a ‘Mystic Light Sync Rainbow header’ with 3 pins.
Each D-RGB product uses 1 Ampere. Check the power output with your motherboards specifications to determine how many D-RGB products can be powered by your mainboards. Currently mainboards support 3 Amperes.
The Phanteks D-RGB controller can support up to 7 D-RGB products when using the remote. If the D-RGB controller is connected to your motherboard a total of 9 D-RGB can be connected to the controller. A maximum of 4 D-RGB products can be connected to a single output port on the controller.
Most of the D-RGB products and compatible mainboards include a mainboard adapter. Simply connect this mainboard adapter to the Addressable or Rainbow port on your mainboard and the Phanteks D-RGB products. D-RGB products from Phanteks can be daisy-chained so you only need one port on your motherboard. Most mainboards also include this motherboard adapter cable.
You can install as many D-RGB controllers as you would like. However they do not connect to each other. Each controller will work, and need to be controlled, individually.
Press and hold the ‘Mode’ for 2 seconds until the LED’s turn off. When using software control please consult with the motherboard manufacturer.